

Public forms are built on contact types
On the first page in this series, the public forms overview page, we looked at some of the different ways public forms could be used. In this documentation, we’ll create a public form to capture signed digital cards submitted by the members of a bargaining unit. To accomplish this we will need to:- Navigate to the Public forms page.
- Click the New Public Form button for a person.
Create a new contact type
To create a contact type or a public form, you must be an admin in your project. As with most admin-only functionality, Broadstripes’ Public forms page is accessible via the Settings dropdown in the upper right corner of your screen.-
Click Settings and then choose All settings to open the Project settings page.

-
On the Project settings page, go to the Special features section and select Contact types.
Your Project settings page may look slightly different depending on the features you have enabled for your project.

-
On the Contact types page, click the New Person Type. (If you were creating a form to create or update an organization, you would, of course, click New Organization Type. As mentioned above, most forms are set up to create or update person records, so that’s what we’ll be describing here.)

- You should now see the contact type editor form.
Turn your contact type into a public form
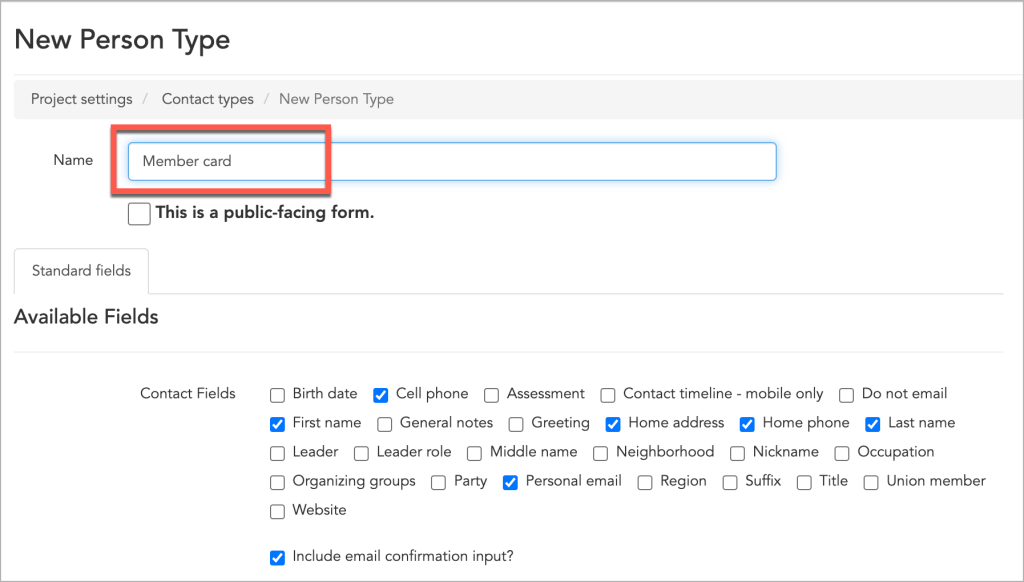
The next step in building our form is to name it and to switch from the standard contact type editor (where we left off in the last section) to the public form editor.-
Type the name of your form into the “Name” field input box.
-
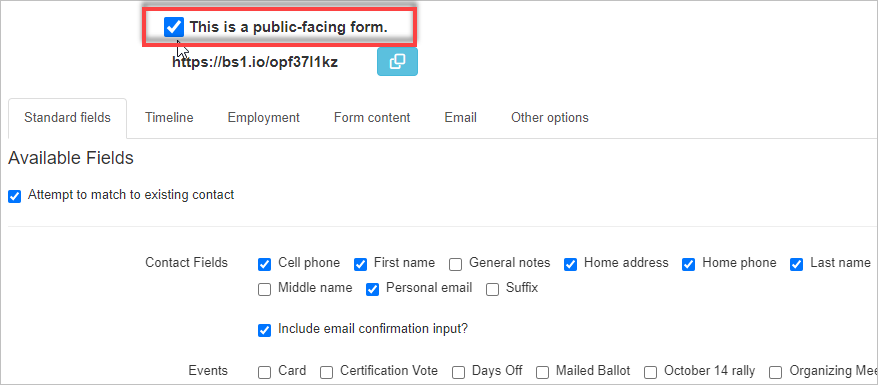
Next, click the “This is a public-facing form” checkbox to switch the interface to the public form editor. Two things will happen when you do this:
- The permanent URL for your public form will appear below the checkbox. Anyone with this link will be able to open, complete, and submit the form. You don’t need to copy it yet, but the blue button will allow you to do that when you want.
- The editor interface will change significantly — a set of tabs will appear below the checkbox.
- At this point, you might want to click the “Save” button. This will take you back to the main Contact types page, but it will ensure that your form is saved under the name you want.