

- how to understand each section of the address form
- recording and displaying primary and secondary addresses
- geocoding and mapping addresses
- tagging bad addresses
- how the address change history panel works
Add a new address
- For this example, we’ll be adding an address to the record of an existing person in our project. (If you want to add a new person, or add a shop or department, that’s fine. Once they are set up, the process of adding an address will be the same.)
- Start by running a search to filter for just the contact whose address you want to work with. (Learn more about creating custom searches in the Search articles).
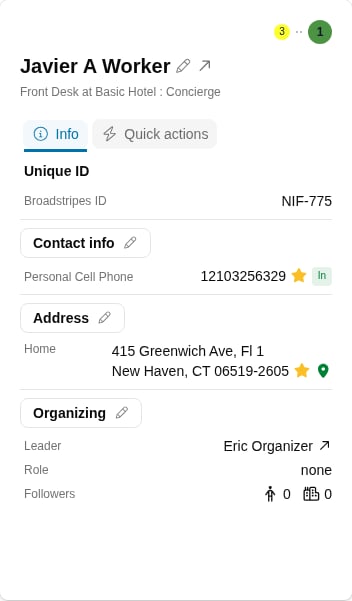
- From the search results, click the Quick view icon () next to the worker’s name. The Quick view dialog will appear, showing the worker’s contact details including their addresses.
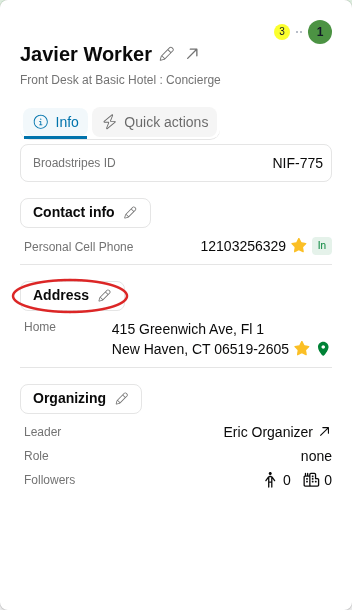
- In the dialog, click the Addresses section header (which displays a pencil icon) to open the address form.
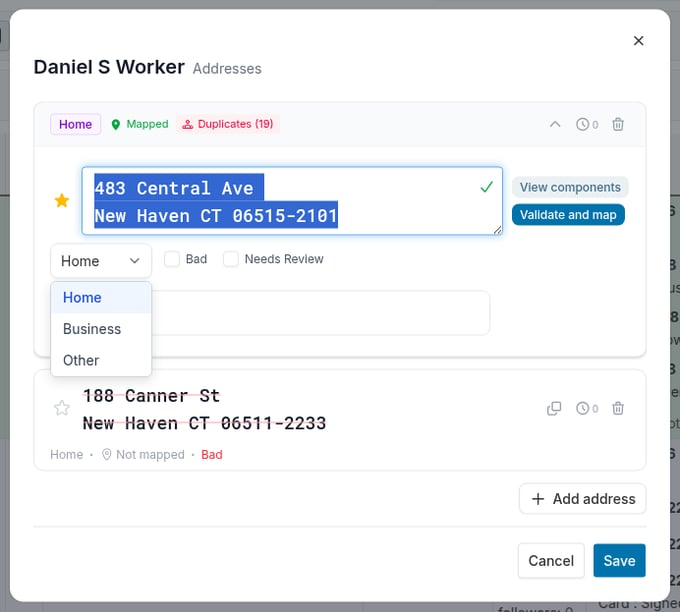
- The address form will open in a dialog. The person’s name appears in the dialog header.
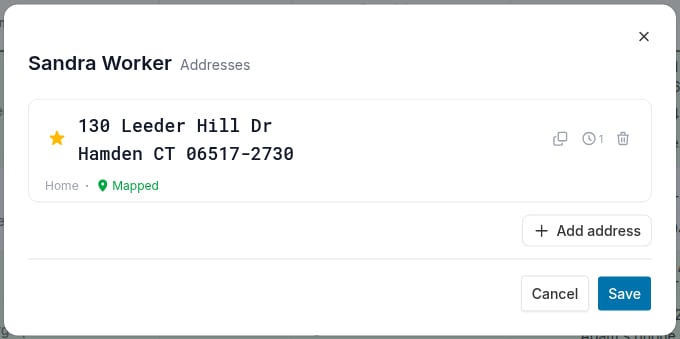
- Click the +Add address button to create an additional address record for this person. (If you want to edit the existing record instead, jump to the Edit an Address section).
- In the new address section that appears, use the address type dropdown list choose Home, Business, or Other.
- Check “Primary” if you want to Broadstripes to use this address as the main address for this person (for instance on maps, search result layouts, and exported spreadsheets). Any address previously checked “Primary” will be automatically unchecked. Leave “Primary” unchecked if the new address is a secondary address for this person.
- Type the new address into the empty address pane.
- You can add an optional Note below the address to help other organizers (e.g. “Doorbell doesn’t work; try knocking”).
- When your address is complete, click the Validate and map button. Clicking Validate and map signals Broadstripes to do two important tasks:
- Validate the address against a database of current US Postal Service (USPS) addresses to verify it as a deliverable address.
- “Geocode” the address, essentially locating its GPS coordinates so that Broadstripes can generate highly accurate maps and driving directions.
- Next, review Broadstripes’ system-generated comments below the address pane to confirm that the validation and mapping process was a success. Here’s how to interpret some common comments:
- Address has been mapped: This address is valid and needs no further attention
- The address could not be verified as entered and may not be deliverable by the post office: This address may contain a typo or be outdated; you may want to manually flag it by checking the “Needs review” checkbox to remember to correct it later. Depending on your organization’s data entry policies, you may also want to flag it by checking the “Bad” checkbox which will cause the address to be displayed with strikethrough, and prevent it from being displayed on a map or exported to spreadsheet from the search results.
- Other warnings, such as “The street was found, but not the number” are also indications that the address you’ve entered is inaccurate. Follow your organization’s rule of thumb to mark these correctly.
- When you are satisfied with your work, click Save at the bottom of the address form**.**
Edit an existing address
Manually saved addresses are protected from import overwrites
When you manually save changes to an address, Broadstripes treats it as user-confirmed data and protects it from being overwritten by future imports. If the same address appears in a subsequent data import, Broadstripes will skip it and keep your edited version instead.- To edit an address, start by running a search to filter for just the contact whose address you’re working with (Learn more about creating custom searches in the Search article).
- From the search results, click the Quick view icon () next to the worker’s name. The Quick view dialog will appear, showing the worker’s contact details including their addresses.
- In the dialog, click the Addresses section header (which displays a pencil icon) to open the address form.
- The address form will open in a dialog. The person’s name appears in the dialog header.
- Place your cursor in the address pane of the address you want to edit and type any changes. You can also check or uncheck “Primary” or add a note to the address.
- When your edits are complete, click the Validate and map button to locate the updated address in a database of current US Postal Service and verify its GPS coordinates for display on maps and driving directions.
- Next, review Broadstripes’ system-generated comments below the address pane to confirm that the validation and mapping process was a success. Here’s how to interpret some common comments:
- Address has been mapped: This address is valid and needs to further attention
- The address could not be verified as entered and may not be deliverable by the post office: This address may contain a typo or be outdated; you should manually flag it by checking the “Needs review” checkbox to remember to correct it later. Depending on your organization’s data entry policies, you may also want to flag it by checking the “Bad” checkbox which will cause the address to be displayed with strikethrough, and prevent it from being displayed on a map or exported to spreadsheet from the search results.
- Other warnings, such as “The street was found, but not the number” are also indications that the address you’ve entered is inaccurate. Follow your organization’s rule of thumb to mark these correctly.
- When you are satisfied with your address updates, click Save at the bottom of the address form.
Delete an existing address
If you have an address that you want to completely eliminate from a person’s record rather than edit or mark as bad, you can choose to delete it. History of the deletion will not be shown in the address history pane. (If you have questions or want more information on working with addresses and specifics about how Broadstripes handles address data and tracks change history, check out the Components of the Address Form article.)- To delete an address, start by running a search to filter for just the contact whose address you want to delete (Learn more about creating custom searches in the Search articles).
- From the search results, click the Quick view icon () next to the worker’s name. The Quick view dialog will appear, showing the worker’s contact details including their addresses.
- In the dialog, click the Addresses section header (which displays a pencil icon) to open the address form.
- The address form will open in a dialog. The person’s name appears in the dialog header.
- Click the Trash icon on the right of the specific address you want to delete. The address will appear struck through with a removed label and an Undo link. If you change your mind before saving, click Undo to restore it.

- If you want to delete multiple addresses for a single person, you’ll need to repeat this process for each address.
- When you are satisfied with your deletions, click Save in the dialog footer.