

Open the New project dialog
On the Projects tab of the union portal dashboard, click the New project… button. It appears both above and below the projects table.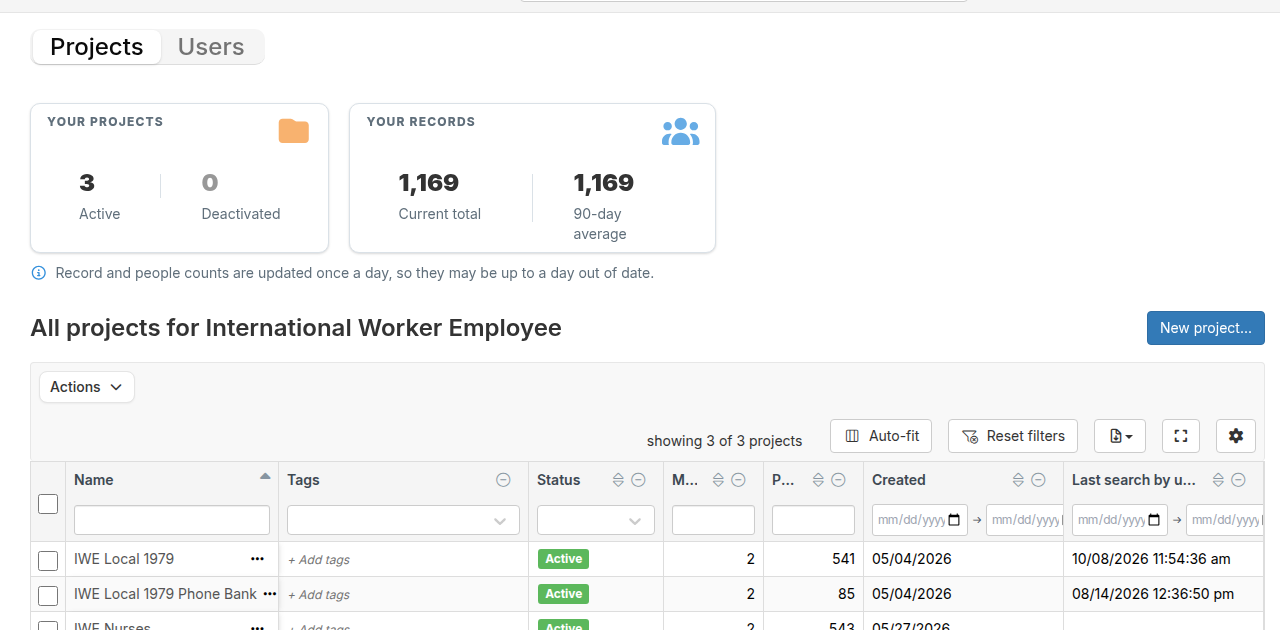
Fill in the project details
The New project dialog collects everything Broadstripes needs to set up the project.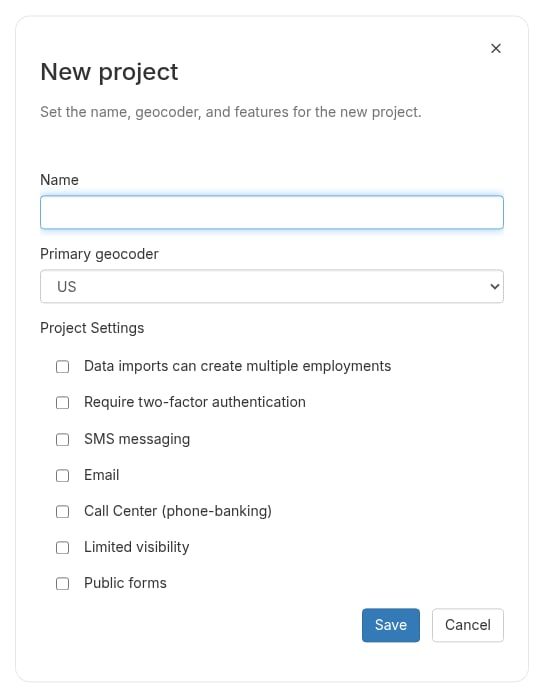
- Name — the project’s display name, up to 40 characters. A character counter appears as you approach the limit. The name must be different from every existing project’s name; Broadstripes tells you if it conflicts.
- Primary geocoder — which address geocoder the project uses: US (the default), Canada, or None.
- Project Settings — optional features for the project, all off by default:
- Data imports can create multiple employments
- Require two-factor authentication
- SMS messaging
- Call Center (phone-banking)
- Limited visibility
- Public forms
Core organizing features — labor organizing, employments, community organizing, and telecom opt-in/opt-out tracking — are always enabled on new projects, so you only choose the optional ones here.
After the project is created
When the project is created, a confirmation toast appears and the dialog closes. Broadstripes then takes you directly to the Add members page for the new project, so you can invite organizers right away.Broadstripes generates the project’s URL nickname automatically from your group name and the project name — you don’t need to choose one.