

Overview
Calculated columns let administrators create custom metrics by combining or manipulating data from multiple Broadstripes fields. They update automatically when underlying data changes and work like any other column once created. You can use calculated columns in:- Turf panels — show COUNT columns as donut progress bars and SUM/CHECKOFFCOUNT columns as large standalone numbers
- Status reports — calculate totals, especially for time-based metrics like “cards signed in the last week”
- Search result layouts — list multiple values in a single column, such as each leader’s hostile workers
The calculated columns table
Go to Settings and type “calc” in the search box, then select Calculated columns.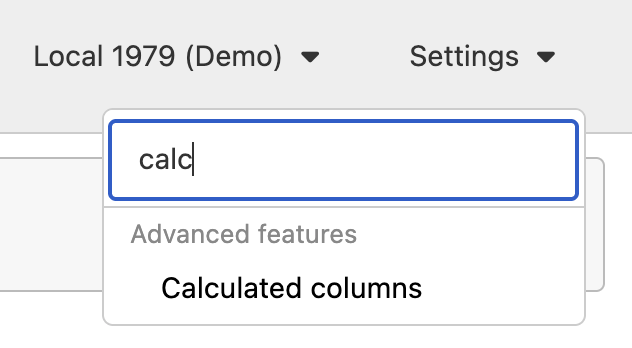
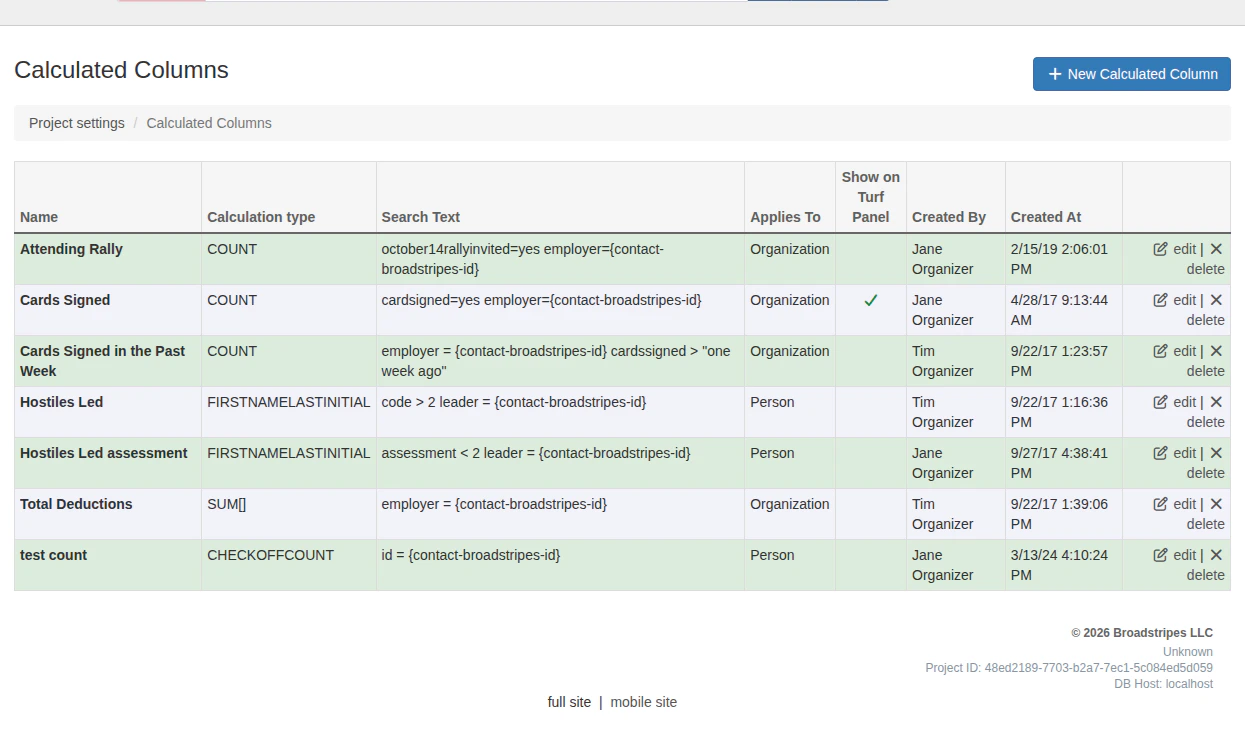
Each row includes edit and delete links.
Create a calculated column
- On the Calculated Columns settings page, click the + New Calculated Column button.
- Fill in the form fields:
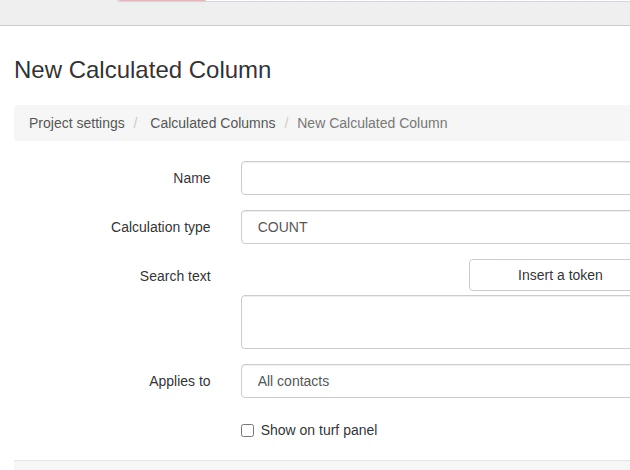
- Name — A short, descriptive name your users will recognize (e.g., “Cards Signed” or “Hostiles Led”). Names must be unique within the project.
-
Calculation type — Choose how to calculate results:
- Custom field for SUM — Appears when you select SUM. Choose which numeric custom field to sum.
- Events for CHECKOFFCOUNT — Appears when you select CHECKOFFCOUNT. Choose which events to count check-offs for.
- Search text — The search query that defines which contacts to include in the calculation. Use the Insert a token dropdown to add tokens. See Search text and tokens below.
- Applies to — Choose Organization, Person, or All contacts. This controls when the column displays data. For example, if set to Organization, the column only shows values when viewing an organization; it is blank for people.
- Show on turf panel — Check this box to display the column on all users’ turf panels. COUNT columns appear as a donut progress bar (showing count and percentage); SUM and CHECKOFFCOUNT columns appear as a large standalone number. This option is only available when Applies to is set to Organization.
- Click Save Calculated Column.
Search text and tokens
The Search text field uses the same search syntax as the Broadstripes search bar. You can combine any search terms with special tokens — placeholders inside{curly brackets} — that tell Broadstripes how to group and calculate results.
Available tokens
Use the Insert a token dropdown to add these tokens to your search text:Common search text patterns
Count by employer (e.g., cards signed per location):Broadstripes understands natural language date phrases in search text, such as “one week ago,” “two months ago,” or “yesterday.”
Edit a calculated column
- On the Calculated Columns settings page, click edit next to the column you want to change.
- Update the form fields as needed.
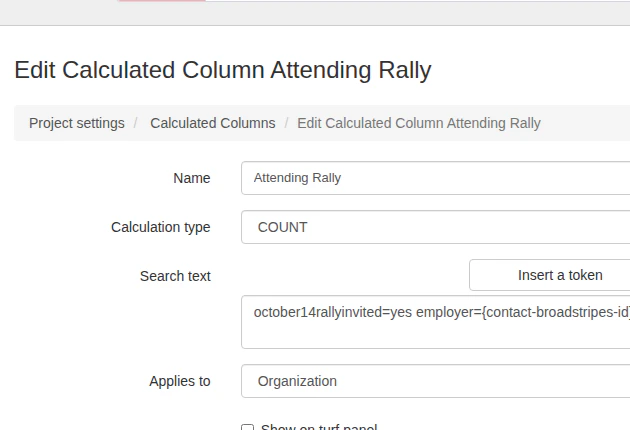
- Click Save Calculated Column.
Delete a calculated column
- On the Calculated Columns settings page, click delete next to the column you want to remove.
- A confirmation page appears. Click Delete [column name] to permanently remove the column, or Cancel to go back.
Using calculated columns
Once created, calculated columns are available wherever you can select columns in Broadstripes.On the turf panel
If you check Show on turf panel when creating a column, it automatically appears on all users’ turf panels. How it displays depends on the calculation type: COUNT columns show as a donut progress bar with the count and percentage; SUM and CHECKOFFCOUNT columns show as a large standalone number (since their totals don’t represent a share of the worker count).In status reports
To add a calculated column to a status report:- Go to Settings > Status reports and click edit on the report you want to modify.
- Click the Columns tab.
- Select your calculated column from the Calculated columns section under Available Columns.
- Configure the column label, orientation, and display format (count or percentage).
- Click Save.
In search result layouts
To add a calculated column to a search layout:- Run a search to display results.
- Choose Modify layout from the Layout dropdown menu.
- Click on your calculated column under Other available columns to add it.
- Click Save changes.