

Add a tag to contacts
One of the most common bulk actions applied to search results is adding a tag to contacts. Tags give you an easy way to manually group individuals you want to track for any reason (for instance your key volunteers, or the people you need to follow up with this month). You can learn more about setting up and using tags in the Tags article. Once you know which contacts you want to tag, you’re ready. This article explains how to add a tag and how to remove one later.Add a tag to selected contacts
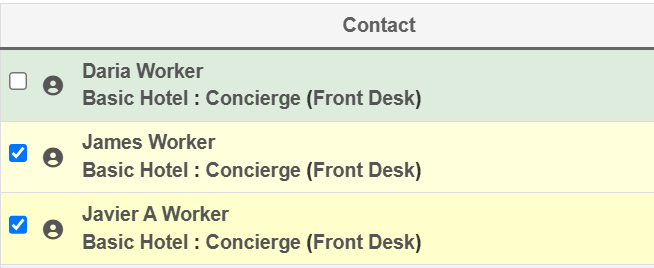
- From the Search Results page, select the contacts you want to tag. (If you need help running a search, check out the Find people and workplaces, Search by workplace, or the articles in the Search section.)
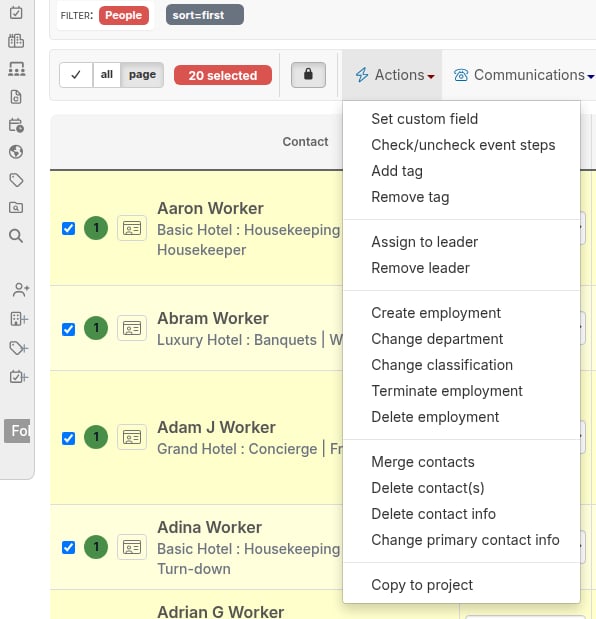
- With the contacts selected, go to the Actions drop-down menu and choose Add tag.
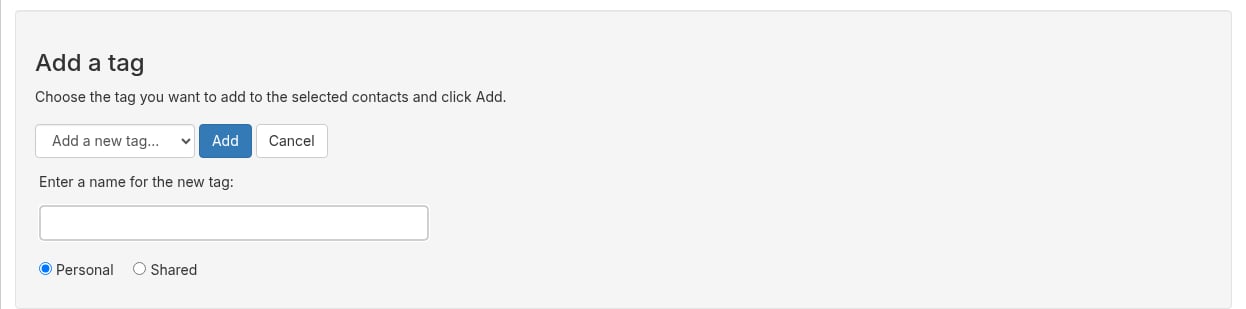
- You can choose to add the contacts to one of your existing personal or shared tags, or create a new tag. For this example, we’ll choose to add a new tag.

- Enter a name for the new tag and indicate whether you want to share the tag with others (Shared), or have it visible only to you (Personal). Click Add to create the tag and automatically add the contacts you selected in the previous step.
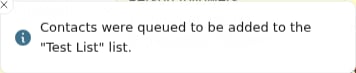
- You’ll see a notification at the bottom center of the screen that your contacts have been tagged.
Remove a tag from contacts
- Start by clicking the Tags link on the navigation panel.
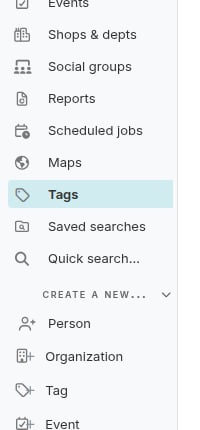
- Broadstripes will open the Tags page where you’ll see all of your tags (both shared and personal).
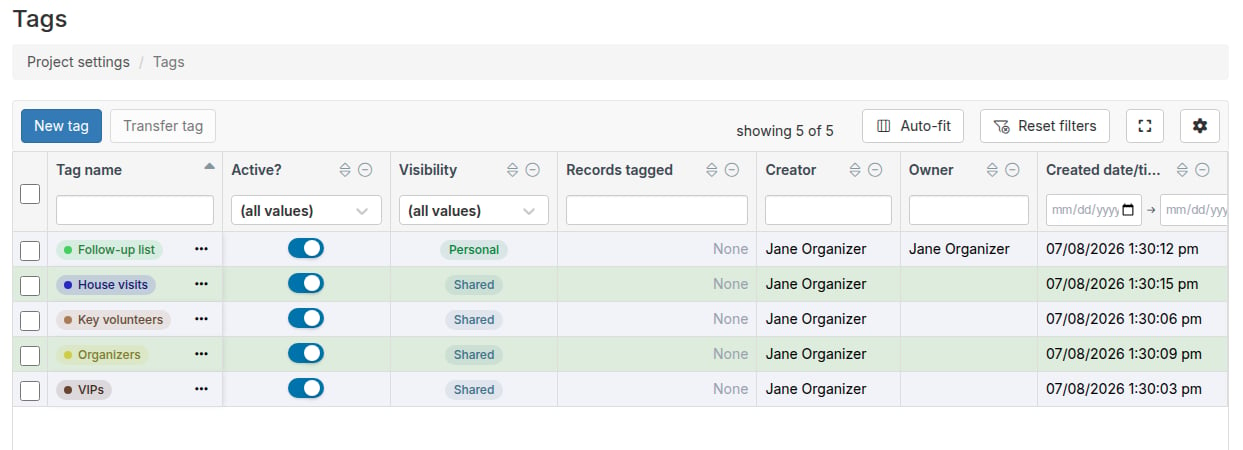
- Clicking on the number in the Records tagged column will open a page showing all the members of that tag.
- From the list that appears, check any people you want to remove from the tag. You don’t have to start from the Tags page to remove a person from a tag. You can check any person displayed on any search results page, then remove them using the same steps outlined below.
- From the Actions drop-down menu, select Remove tag.
Do not “Delete” a contact by mistake
Remember that you need to choose Remove tag from the Actions menu. Choosing Delete from this menu by mistake will permanently erase the contact from your entire project. - Choose the tag you want to remove the contacts from and click the Remove button.
- You’ll see a pop-up note confirming that your contacts have been removed from the tag.